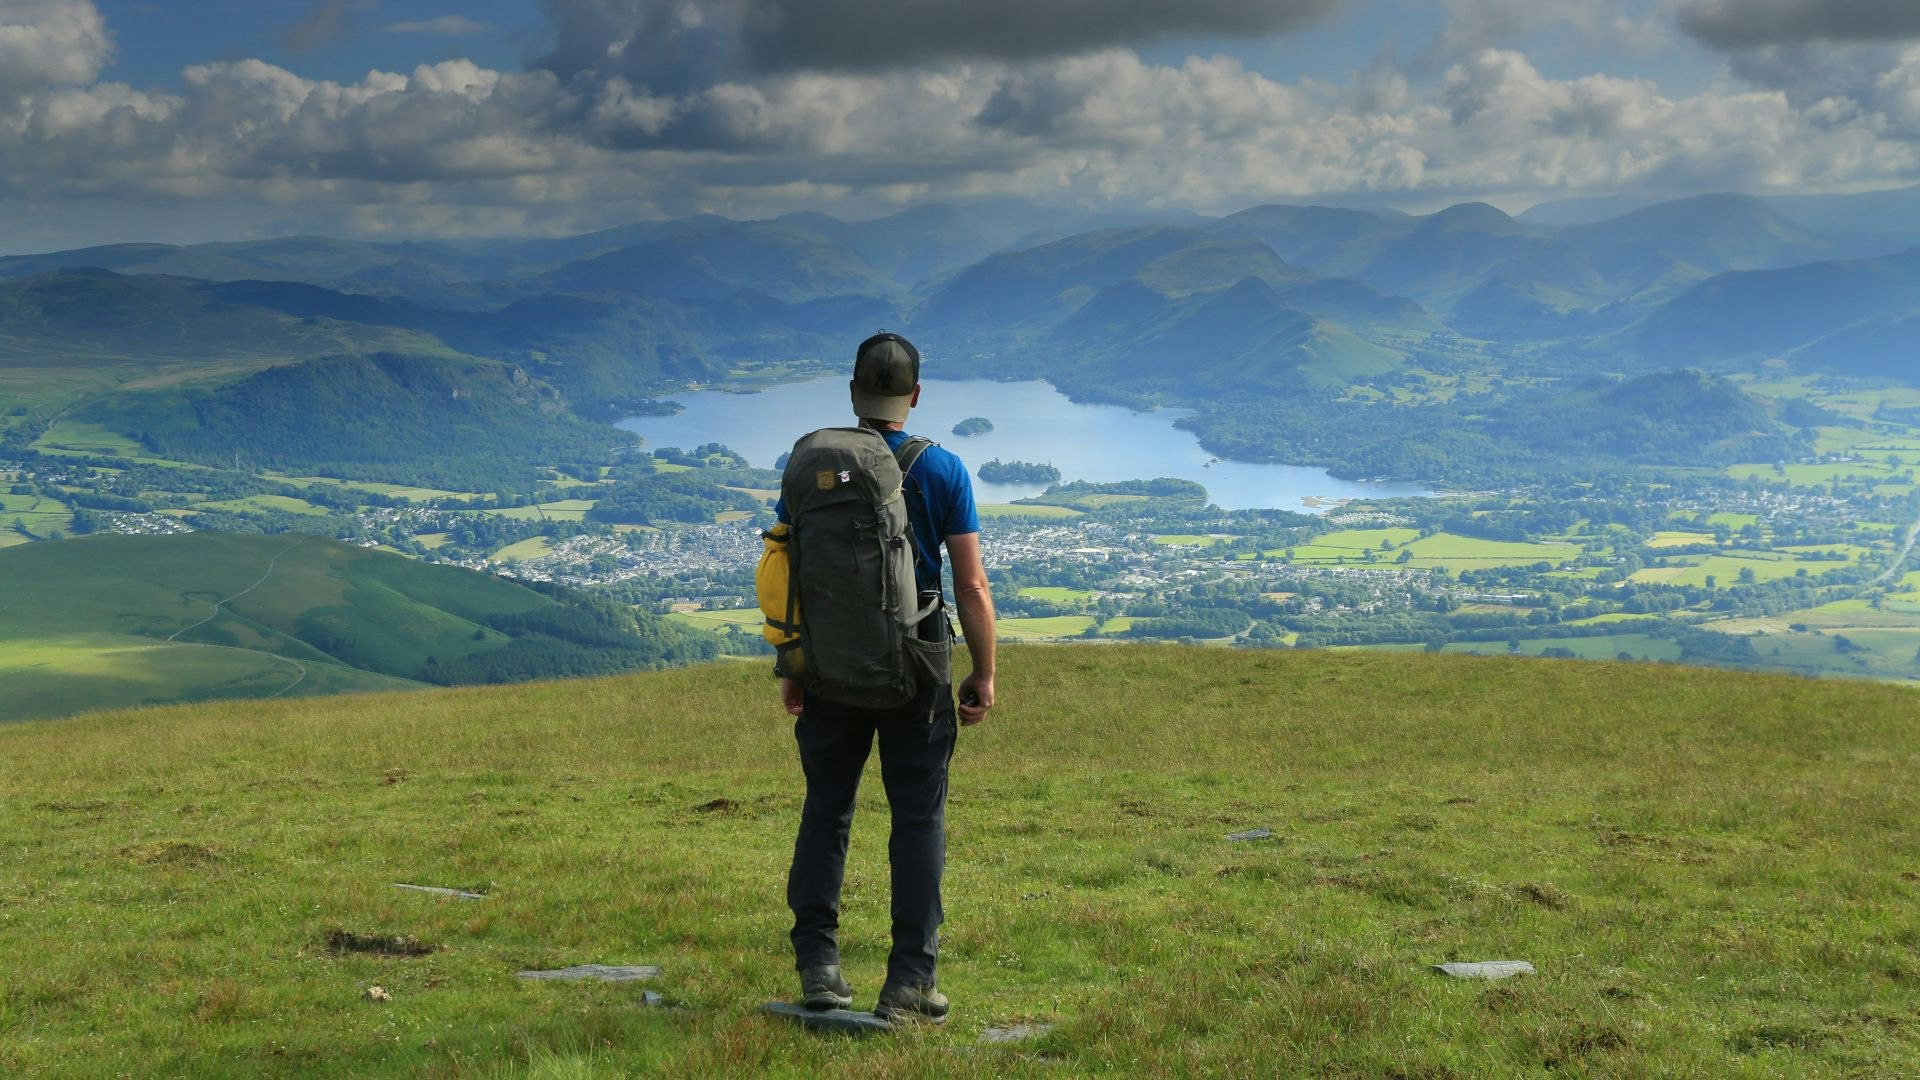
A 3-Day Backpacking Challenge: Conquering the Lake District’s Four Peaks
Scotland is home to 282 peaks known as Munros, all over 3000ft. In contrast, England only has four such peaks, and they are all located in the Lake District. These four peaks — Sca Fell, Scafell Pike, Helvellyn, and Skiddaw — offer a unique challenge for hikers looking to tackle them in a single, epic backpacking route.
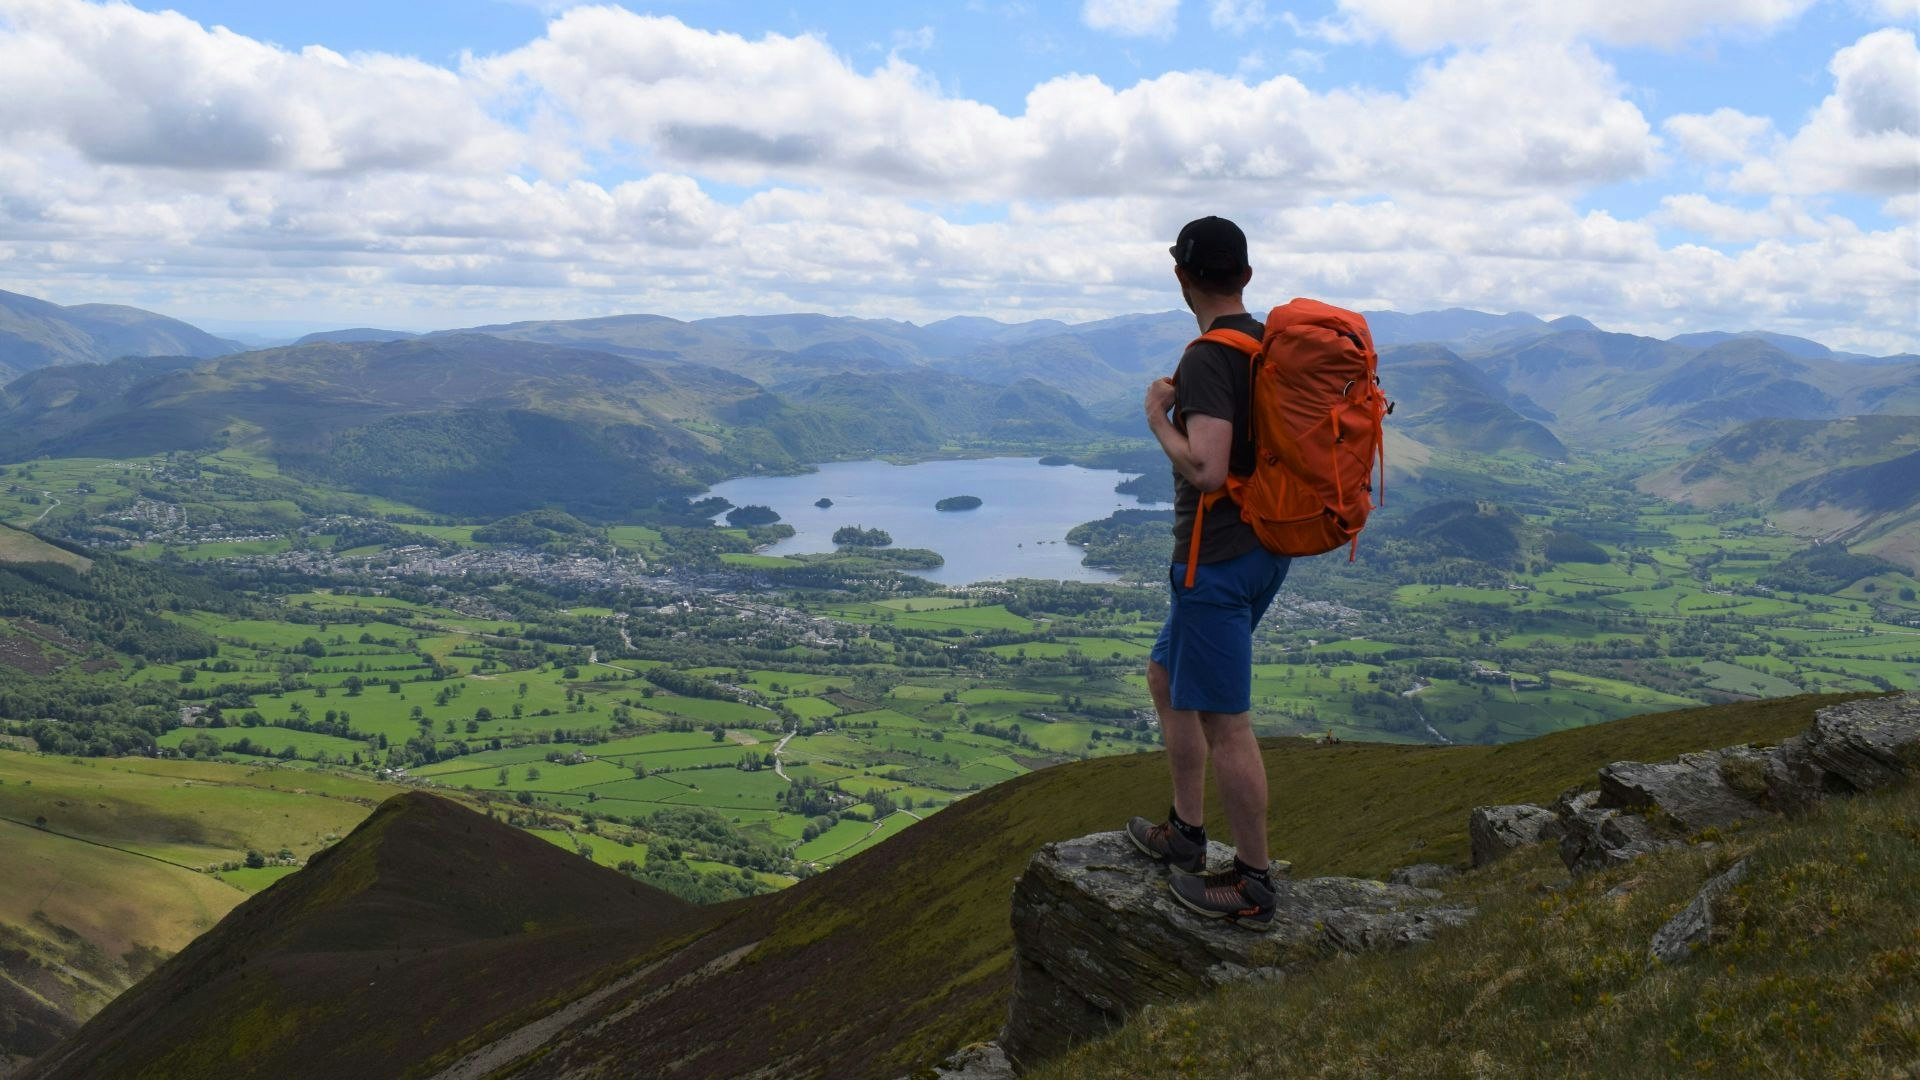
One popular option is to complete a full high-level loop from Keswick, but I recommend a 3-day, anti-clockwise, 60km itinerary starting from Seatoller and ending in Keswick. This route allows you to experience the best of the Lake District while tackling each peak with a sense of accomplishment.
Day 1 – Sca Fell and Scafell Pike
Distance:16.1km |Time:8 hours |Ascent:1436m |Scramble Grade:1
Download the digital route: [HERE]
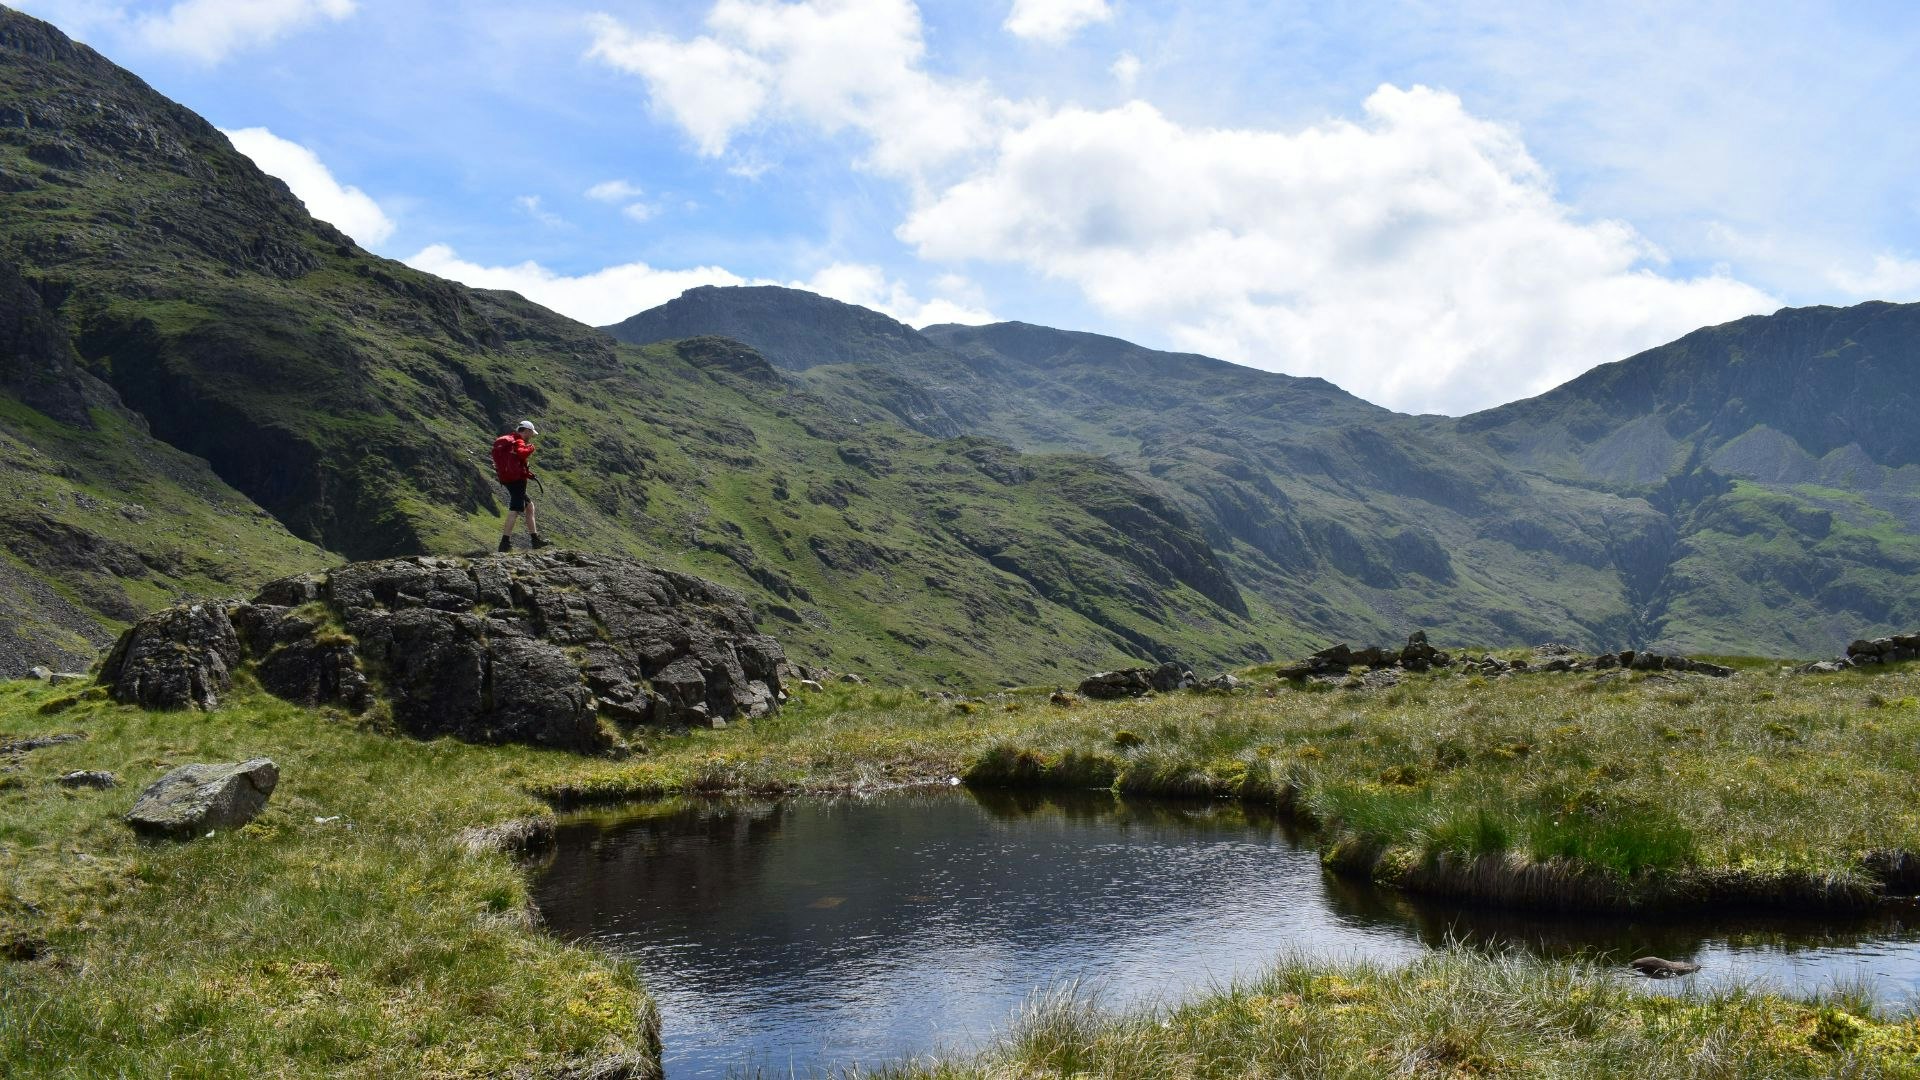
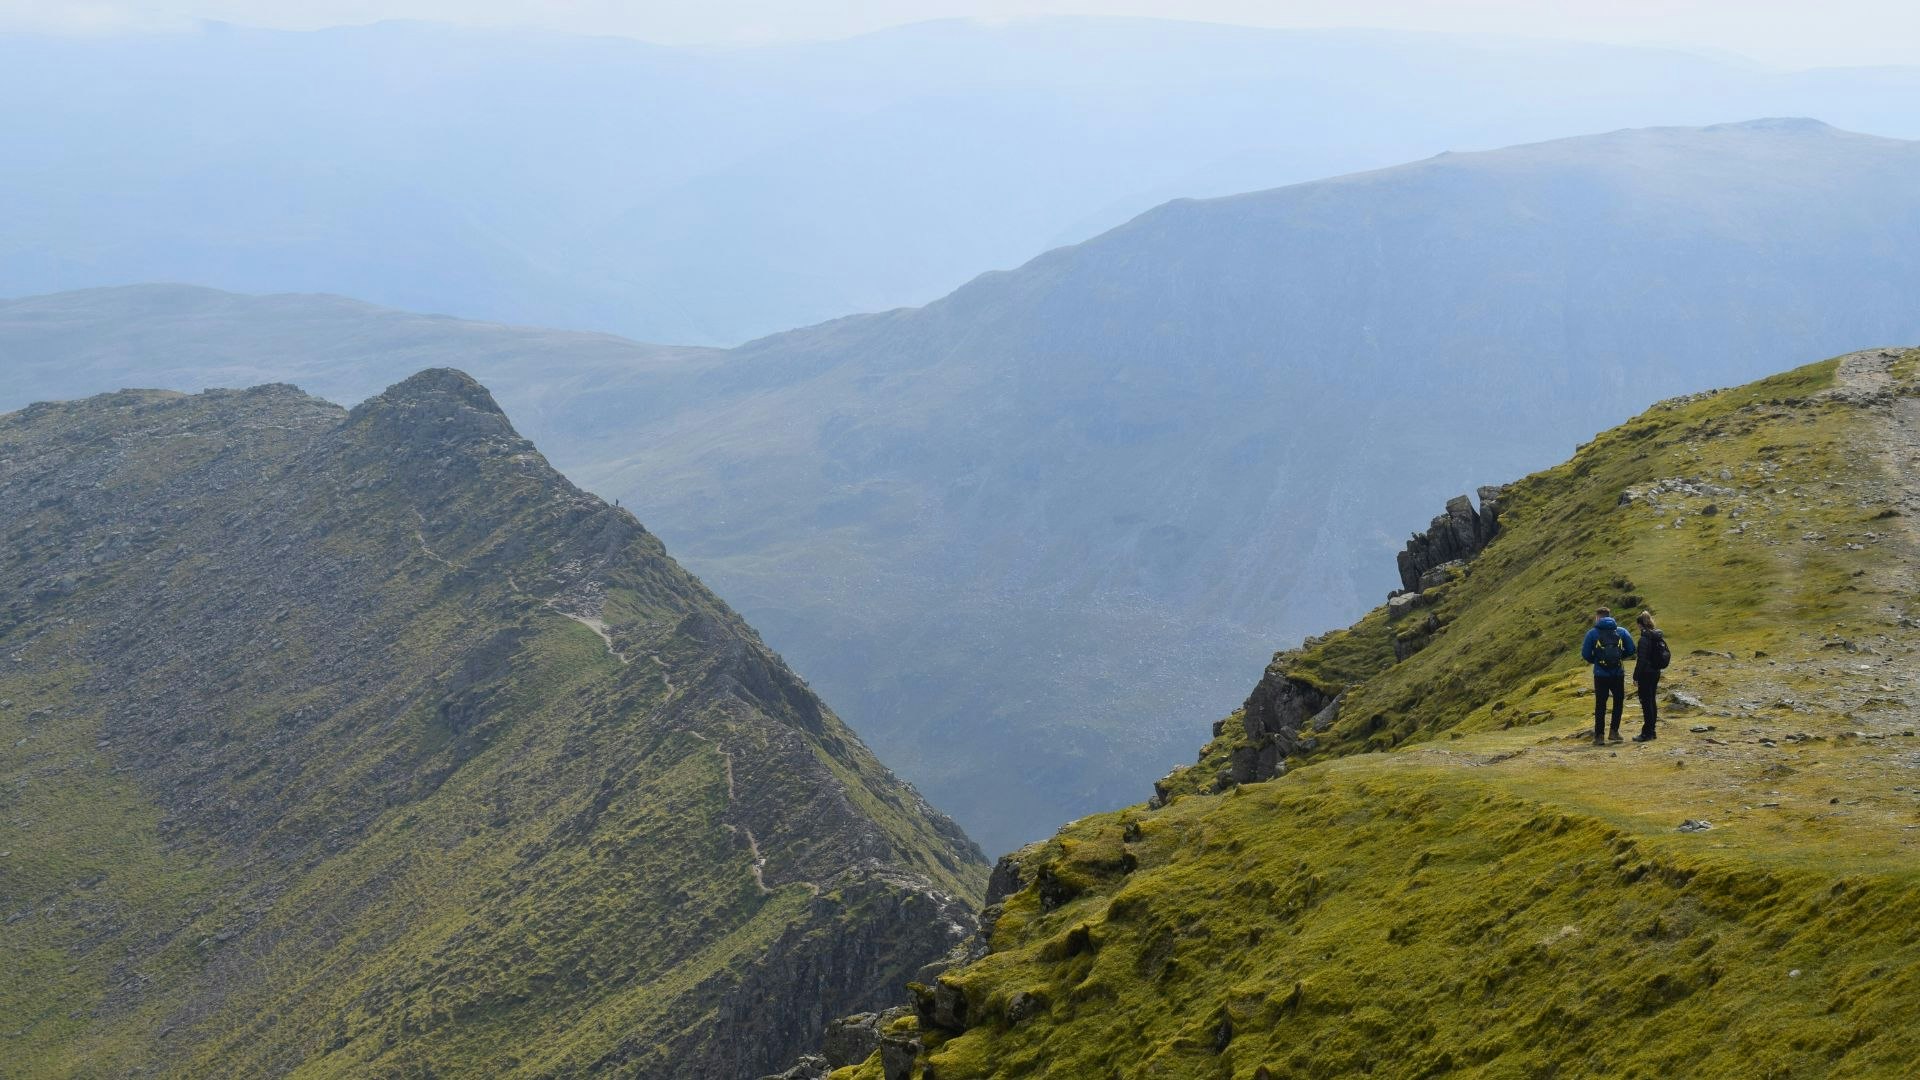
This day sets the tone for the entire adventure. Starting in Seatoller, you’ll head into Borrowdale, climb past Styhead Tarn, and take the superb high-level Corridor Route along Scafell Pike’s flank. The route becomes more exciting with scrambles around Lord’s Rake and Foxes Tarn.
How Hard Is It?
- Fitness:Good mountain fitness is needed — it’s strenuous with significant ascent.
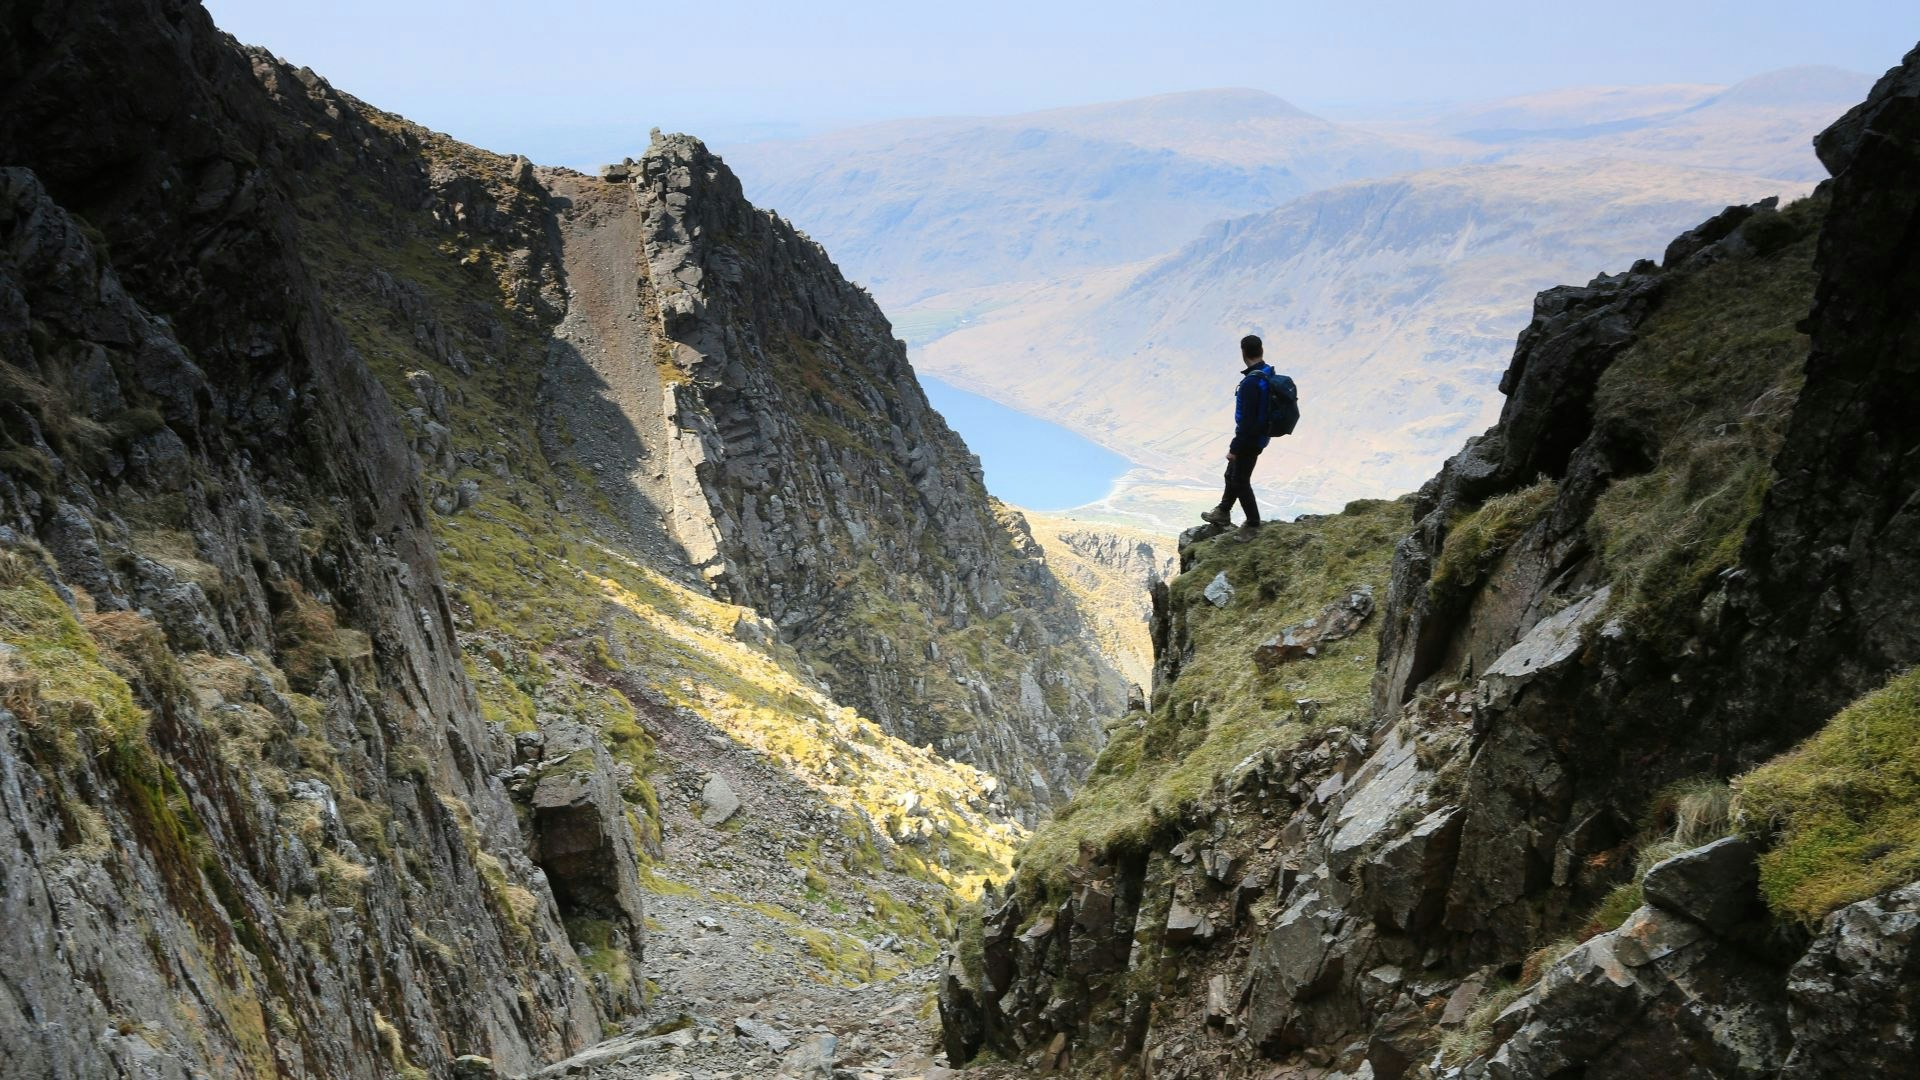
- Terrain:Lord’s Rake and Foxes Tarn gullies involve technical, rocky scrambling over scree, with exposure and difficulty — for competent scramblers only.
- Navigation:Mostly on good fell paths, but precise navigation is required over dangerous rocky terrain especially around Lord’s Rake, Foxes Tarn, and the Corridor Route.
Route Guide
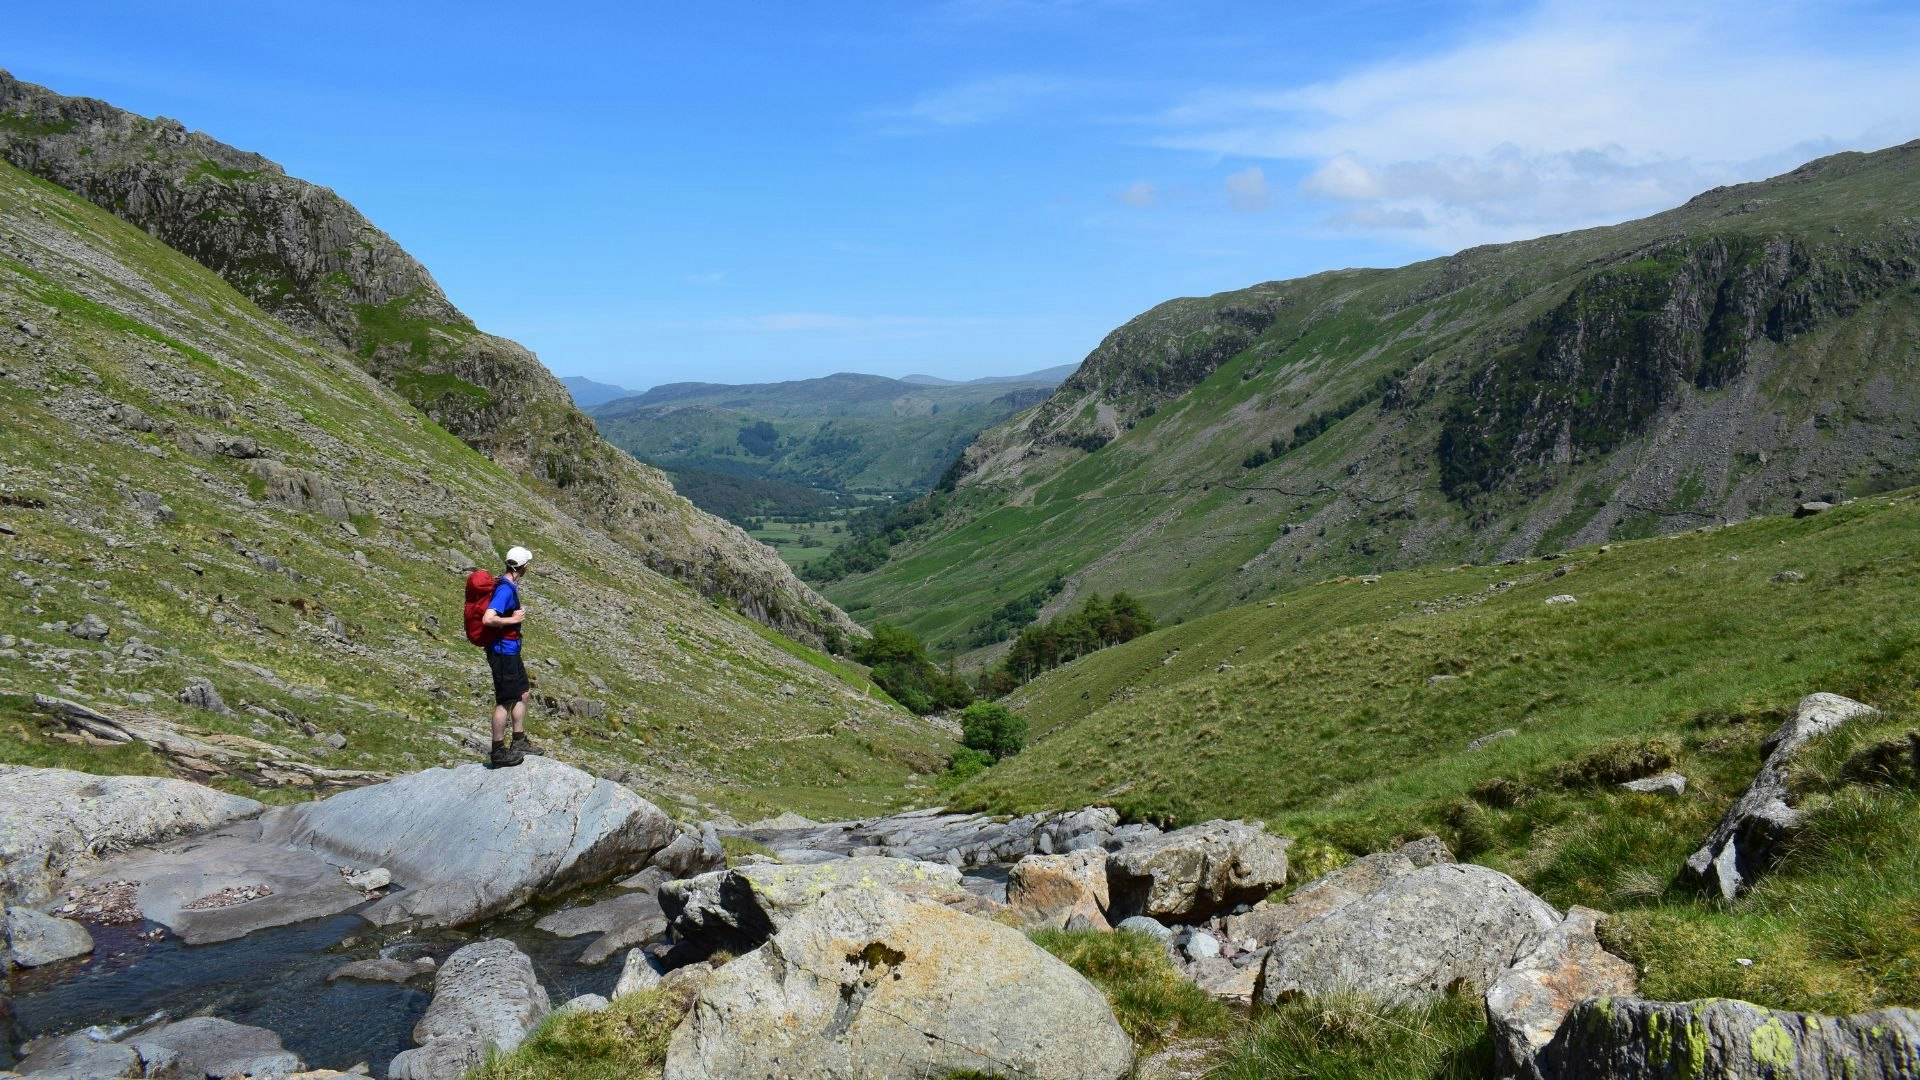
Step 1: Seatoller to Styhead Tarn
From the bus stop at the National Trust car park in Seatoller, turn left and head south-east on the B5289, then turn right, cross Seatoller Bridge, and walk south-west along the road for 1.9km to Seathwaite. Head south through the farmyard, signposted ‘Styhead 2½ miles,’ and go through a wooden gate onto a wide, rocky path.
Ignore the footbridge on your left and continue south, with the river on your right. Walk south on the excellent path, via a couple of gates and footbridges. After 1.4km from Seathwaite, turn right and cross Grains Gill over Stockley Bridge.
Go through the gate and climb west on a winding, stone-pitched path. Pass through another gate and veer right as the path hugs a fence with woodland to your right. Veer south-west following Styhead Gill, which you cross at a footbridge, and continue south on the other side of the stream to emerge at Styhead Tarn.
Step 2: The Corridor Route
Pass to the right of the tarn and climb gently to arrive at a Mountain Rescue stretcher box. Turn left and head east to the start of the Corridor Route.
Turn right and head south for Spout Head. After crossing Skew Gill, there is a short but easy rocky scramble. Continue ascending south. Veer left, descending briefly and traversing over another section of rocky scrambling before crossing a stream. Cross Greta Gill, climb south on the path and emerge at a prominent path junction. Bear west, veer left around the crags and then turn right to cross the head of Piers Gill.
Ascend south-west over rugged, craggy ground and reach a path junction marked by a cairn, located to the south of Lingmell Col. Veer right and descend west as if heading for Hollow Stones. Reach a point just before the path becomes a series of sharp switchbacks.
Step 3: Lord’s Rake and Sca Fell
Turn left on an indistinct path heading south, traversing below Pikes Crag and Pulpit Rock. The faint trod is marked by a line of small cairns. Emerge at the path below Mickledore. A trod straight ahead climbs over steep, loose scree to cut a corner and arrive at the start of Lord’s Rake.
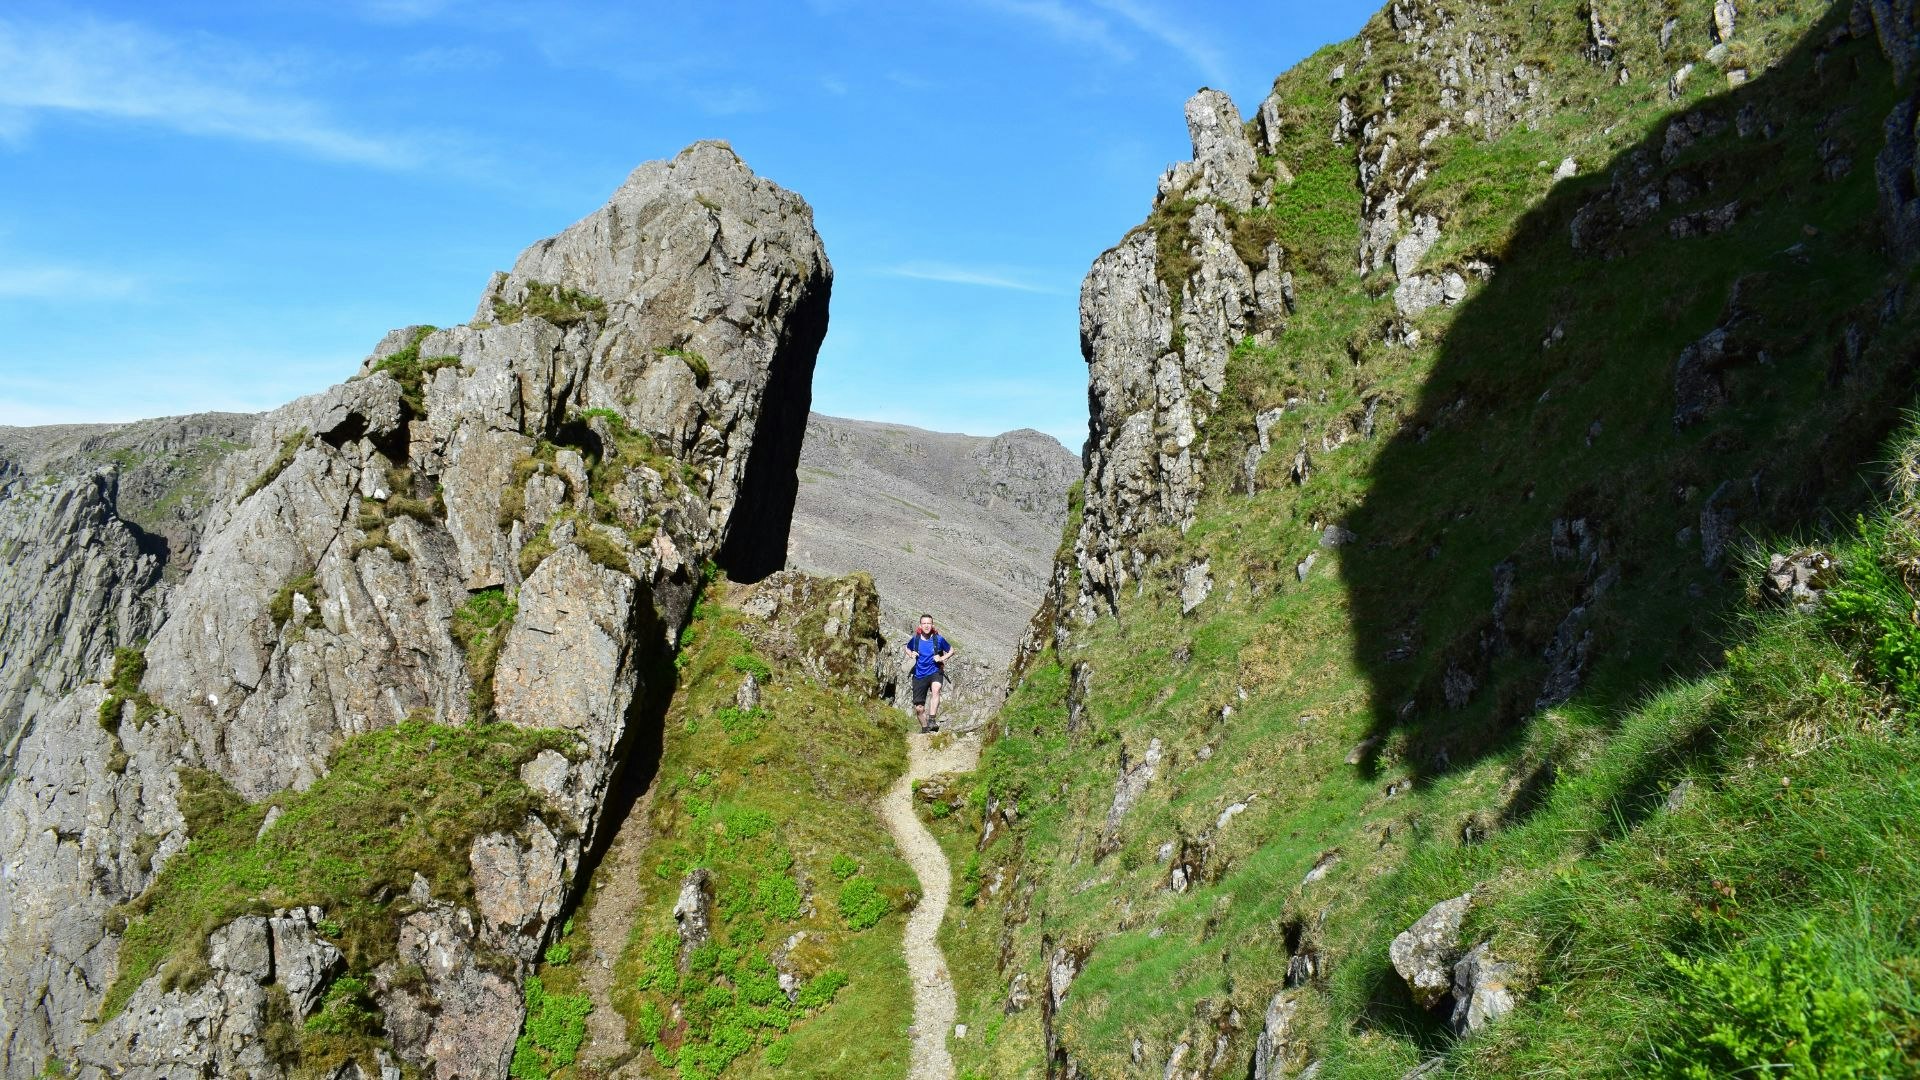
Turn west into the gully and climb arduously over the steep, shifting ground. Pass through a dramatic rocky gateway and continue over a series of ups and downs before emerging out of the gully onto the western flanks of Symonds Knott. Turn left to climb over easier terrain to a col and veer right for the summit of Scafell.
Step 4: Foxes Tarn to Scafell Pike
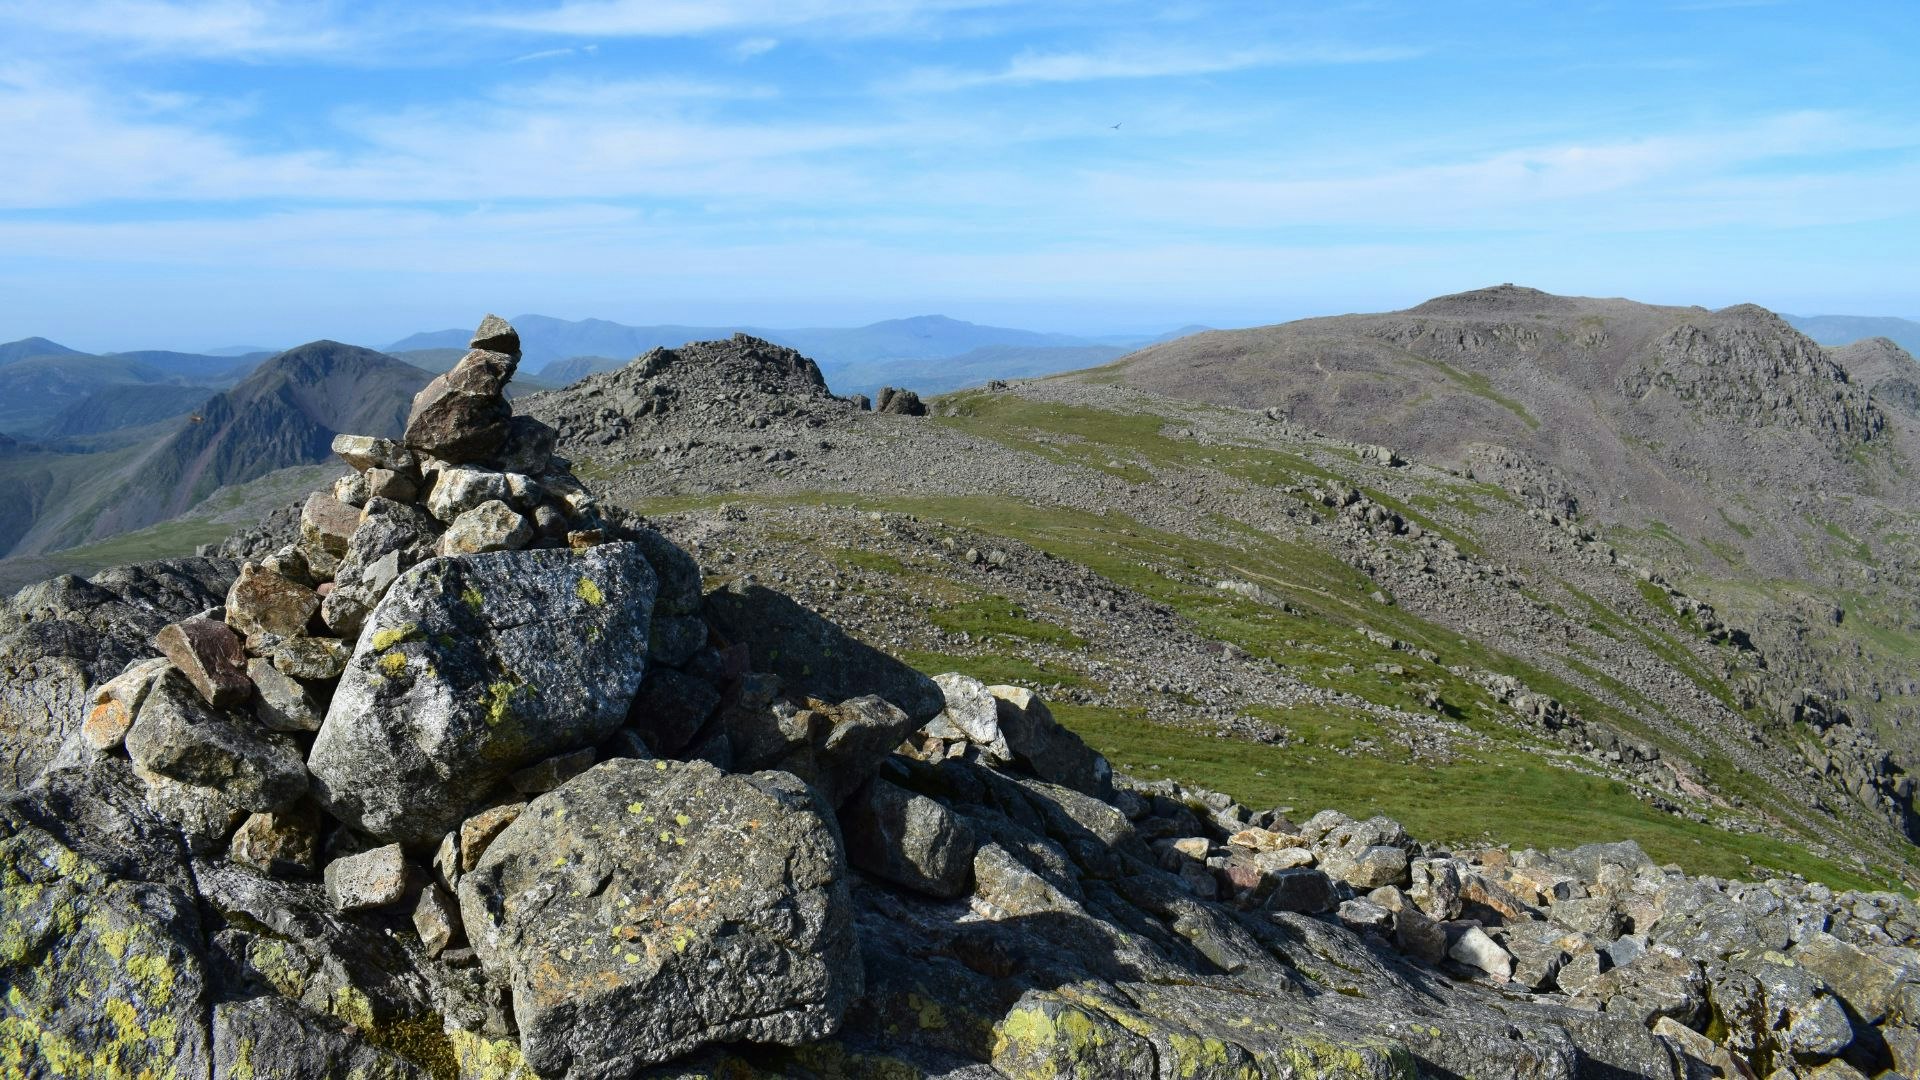
Retrace your steps to the col below Symonds Knott and turn south-east over steep, loose scree down to Foxes Tarn. Turn left and descend north-east over rocky terrain. Just beyond a prominent cairn, scramble down a short, steep gully. Exit the gully and turn north to climb over yet more loose scree to the shelter box at Mickledore. Turn right on a boulder-strewn path. Continue north-east before looping sharply south for the summit of Scafell Pike.
Step 5: Esk Hause and Angle Tarn
Descend east off the summit, following a line of cairns, and veer north over loose ground to the col below Broad Crag. Climb over boulders and, as the terrain flattens, veer east to another col before ascending briefly on a red path.
Stick to the main path, ignoring turn-offs to Ill Crag, and head north over boulder fields following cairns to the col below Great End. Veer north-east, passing to the right of a cross-shaped wall. Descend east and arrive at Esk Hause. Head north-east to the base of Allen Crags, near to a huge cross-shaped wall, and then veer right, taking the path descending south east (and up-and-over a bonus hump in the terrain) to reach Angle Tarn.
Day 2 – Helvellyn
Distance:25.7km |Time:10 hours |Ascent:1584m
Download the digital route: [HERE]
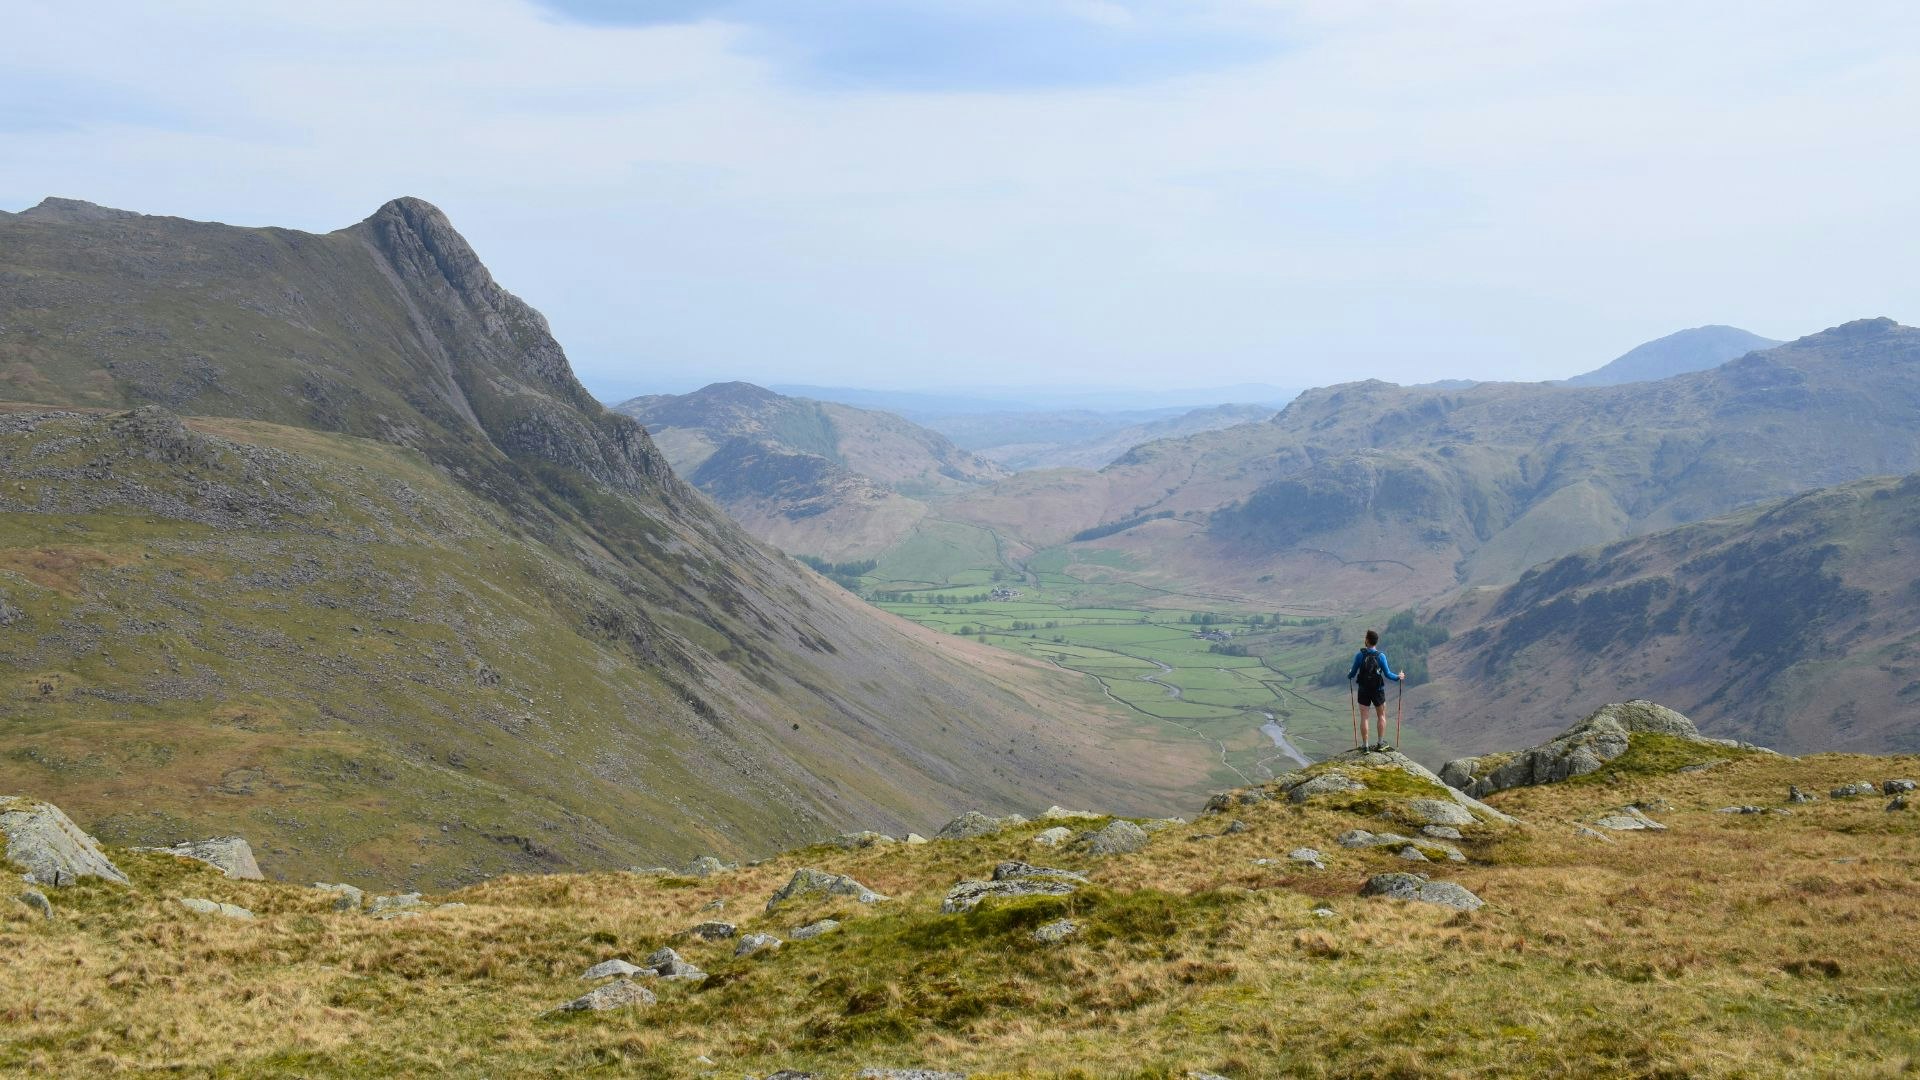
This is the big linking day — a true Lakeland crossing. You leave Angle Tarn, climb out via Stake Pass and the high tops around High Raise, then swing east to Dunmail Raise before the long climb past Grisedale Tarn and onto Helvellyn. After the summit, you descend north-west and keep going all the way to a second wild camp on High Rigg.
How Hard Is It?
- Fitness:Excellent fitness required — big mileage plus significant ascent.
- Terrain:Classic steep, rocky Lakeland ground, but nothing too technical or exposed.
- Navigation:Competent nav skills required, but generally good paths and obvious hill lines.
Route Guide
Step 1: Angle Tarn to High Raise
Cross Angletarn Gill, veer left and take the stony traversing path north-east. The path traverses below Rossett Crag, passes to the left of Black Crags’ 588m top and then veers right, descending grassy slopes to the tarn at Stake Pass.
Follow the path to the right of the tarn to the path junction. Turn left past the large cairn and head north on the path, looping anticlockwise around the tarn. Veer right off the main path on a faint grassy trod into a boggy hollow. Cross Stake Beck, head east, cross the subsidiary stream and pick up the trod to the left of the stream. Climb east and north-east up to High Raise.
Step 2: Greenup Edge and Calf Crag
Take a wide path north-east to the rocky outcrop. Veer left and head north, following the line of old metal fence-posts. Go up-and-over the cairned top at Low White Stones. Descend north-north-east to the col at Greenup Edge, arriving at a prominent stony path. Turn right and descend main, stone-pitched path, crossing Flour Gill and descending east and south-east into boggy hollow. The path now features flat flagstones as you cross Birks Gill. Pass to the right of Brownrigg Moss, before climbing east to Calf Crag.

Step 3: Steel Fell and Dunmail Raise
Head north briefly to pick up the main path to Steel Fell, which heads north-east over boggy terrain. Several paths and trods emerge, some following metal fence-posts. Pass to the right of two tarns and 506m hump, drop briefly to a little col, and then ascend east and south-east to Steel Fell. Head east momentarily and then north following the fence, before turning right on a very steep path dropping east through Ash Crags, slightly to the north of a stream, to reach A591 at Dunmail Raise.
Step 4: Helvellyn
Cross to the other side of A591 via ladder stiles. Take the path north-east, fork left and follow the line of Raise Beck. Climb east-north- east, sticking to the right of the beck. Pass waterfalls and arrive at the saddle above Grisedale Tarn. Turn left and climb steeply north up Dollywaggon Pike. At the junction, turn left and head north-west and north to skirt around Dollywaggon Pike’s summit. Veer right to the col between Dollywaggon and Nethermost. Fork left to head north on the lower path. Follow the path north to col below Helvellyn. Climb north past the X-shaped wind shelter and veer left to Helvellyn’s summit.
Step 5: Browncove Crags
Head north-west towards Lower Man. Fork left and take the descent path north-west via Browncove Crags. Veer right on faint grassy trod, cross Helvellyn Gill and follow path north-north-west. Veer towards the fence, passing to the right of the little summit. Follow the fence north, guided by cairns. Veer left and descend steeply to meet another path. Turn right, pass the fingerpost sign next to a stream, and go through gate.
Follow the wall north, cross the bridge over Fisherplace Gill and continue north. Beyond a series of gates and streams, veer left down to a wall and then right through a gate to cross the bridge over Stanah Gill. Descend north-west, cross the water channel, go through a gate and loop left downhill. Beyond another gate, turn left down the road. Pass a few houses and arrive at B5322. Turn left to join the main road.
Step 6: St John’s in the Vale to High Rigg
Turn right, cross the bridge over St John’s Beck, turn right over the ladder stile, fork left and left again to climb north up Wren Crag. Skirt to the left of Wren Crag’s top. Drop to little col, go through the wall gap and climb north-north-west over Long Band ridge.
Cross the fence at the stile near Mart Crag and turn right. Climb north-north- west and drop briefly to a small tarn. Descend to the col below Moss Crag, cross the ladder stile and veer right uphill. Fork right, staying close to the wall. Pass another tarn and climb north over undulating terrain to High Rigg, for your second wild camp.
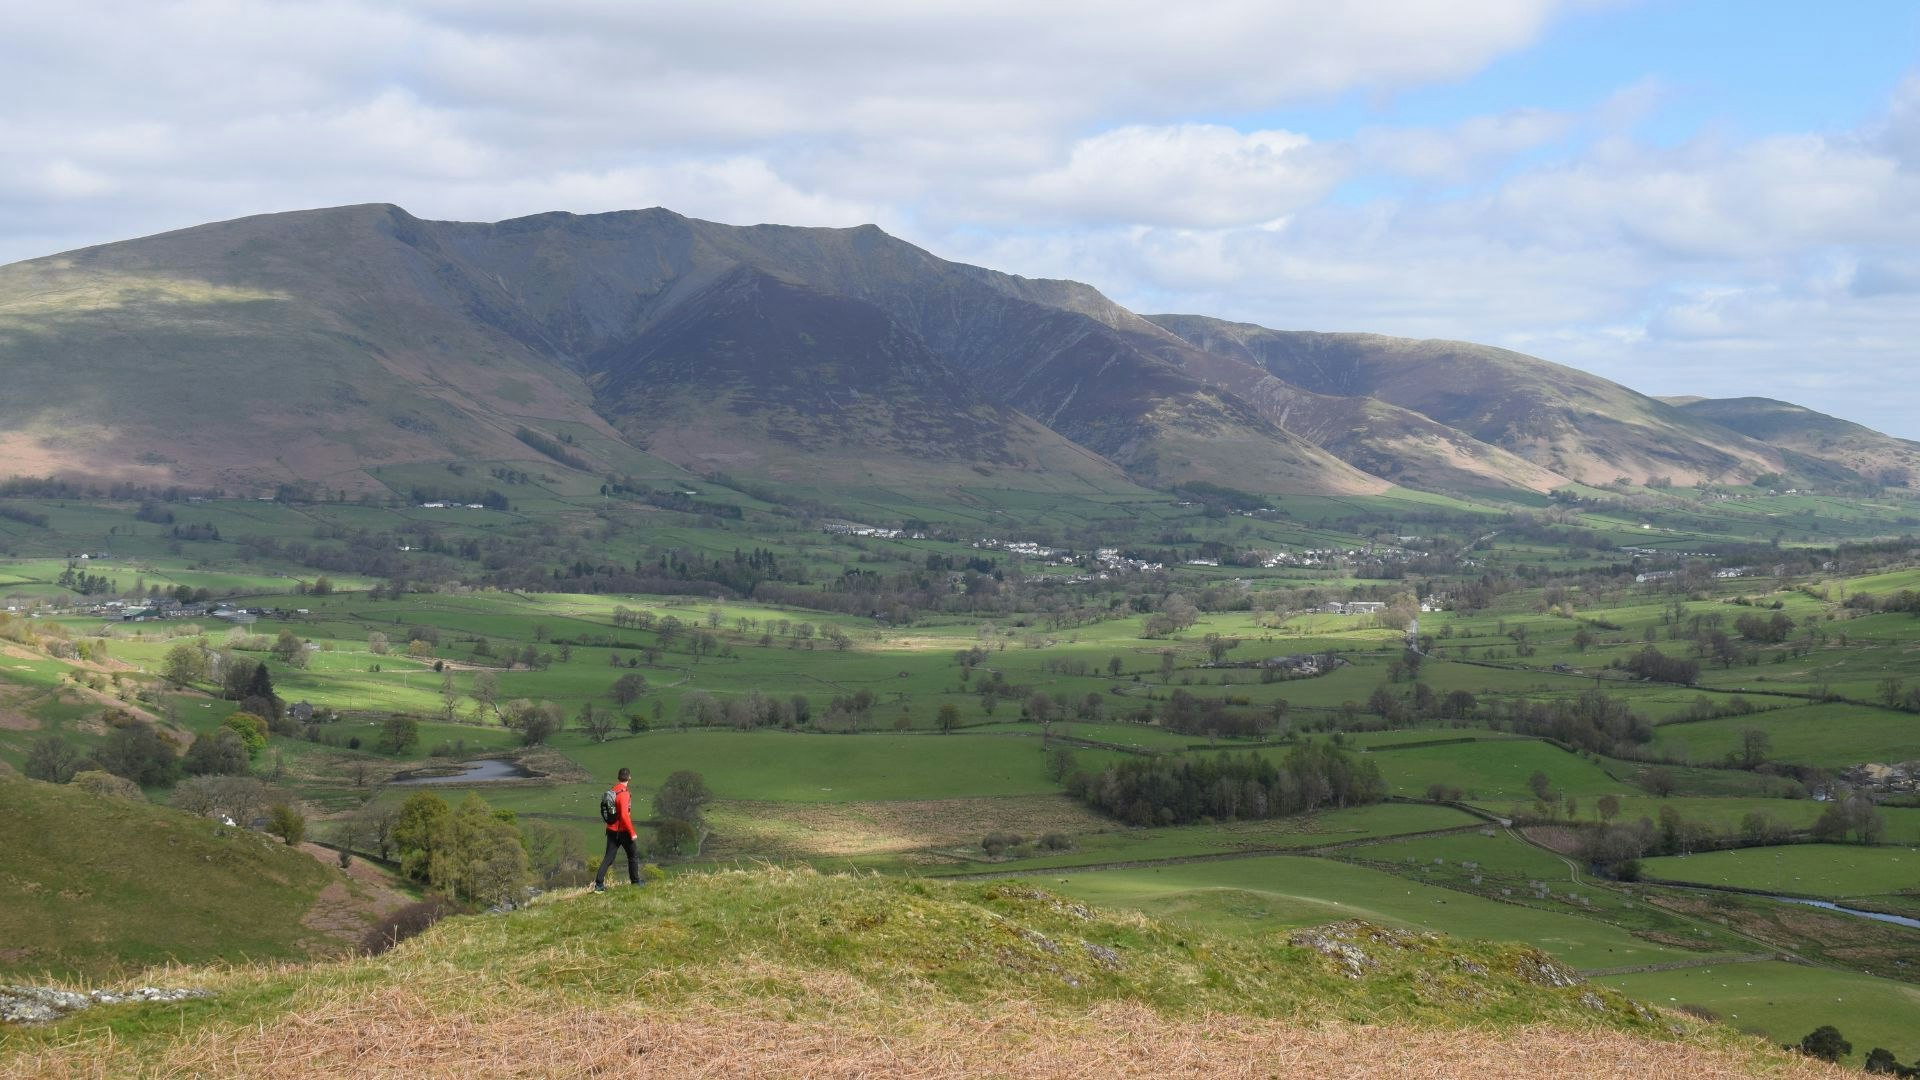
Day 3 – Skiddaw
Distance:19.4km |Time:7 hours |Ascent:985m
Download the digital route: [HERE]
You’ll feel the previous two days in your legs, but this is a brilliant finale. A rolling start off High Rigg, then the steady build to the big, bold back-of-Keswick massif — Skiddaw — before a satisfying descent and stroll into town.
How Hard Is It?
- Fitness:Not particularly difficult by Lakes standards, but it’s Day 3, and there’s still nearly 1000m ascent.
- Terrain:A mix of tracks, trails, fell paths and some road walking — with very steep up/down on Skiddaw.
- Navigation:Mostly good paths, but you still need competent nav skills.
Route Guide

Step 1: High Rigg to the A66
Veer right off the summit, negotiating a bit of craggy ground, and then turn left to descend a grassy path north and west. Cross a stile, veer left to a memorial stone and drop down to the road, to the left of the youth centre. Turn right, pass the youth centre, church, car park and outbuilding, and follow the minor road as it veers north.
Go through a gate, pass some cottages and — where the road turns sharply right — fork left on a track. Pass the houses at Row End and walk north through fields, up a little stone stairway and through two gates to arrive at a road next to Shundraw. Turn left and follow the road north and north-west. Turn left at the next road junction and follow the road as it loops right towards the A66. Just after the road swings west, turn right onto the path. Cross the field and veer right through the tunnel below the A66.
Step 2: The Railway Path
Descend north-east to join the Keswick to Threlkeld Railway Path. Turn left over the bridge and then right up a path through two gates. Turn left on the minor road and climb north up to Brundholme. Follow the road as it veers left and, at the base of Latrigg’s long eastern spur, veer left briefly and then right over stile, signposted ‘Skiddaw 4 miles’. Fork right and head west on a good path. Go through a metal gate and, at the edge of woodland, veer right through another metal gate and climb north-west heading towards Latrigg car park.

Step 3: Skiddaw
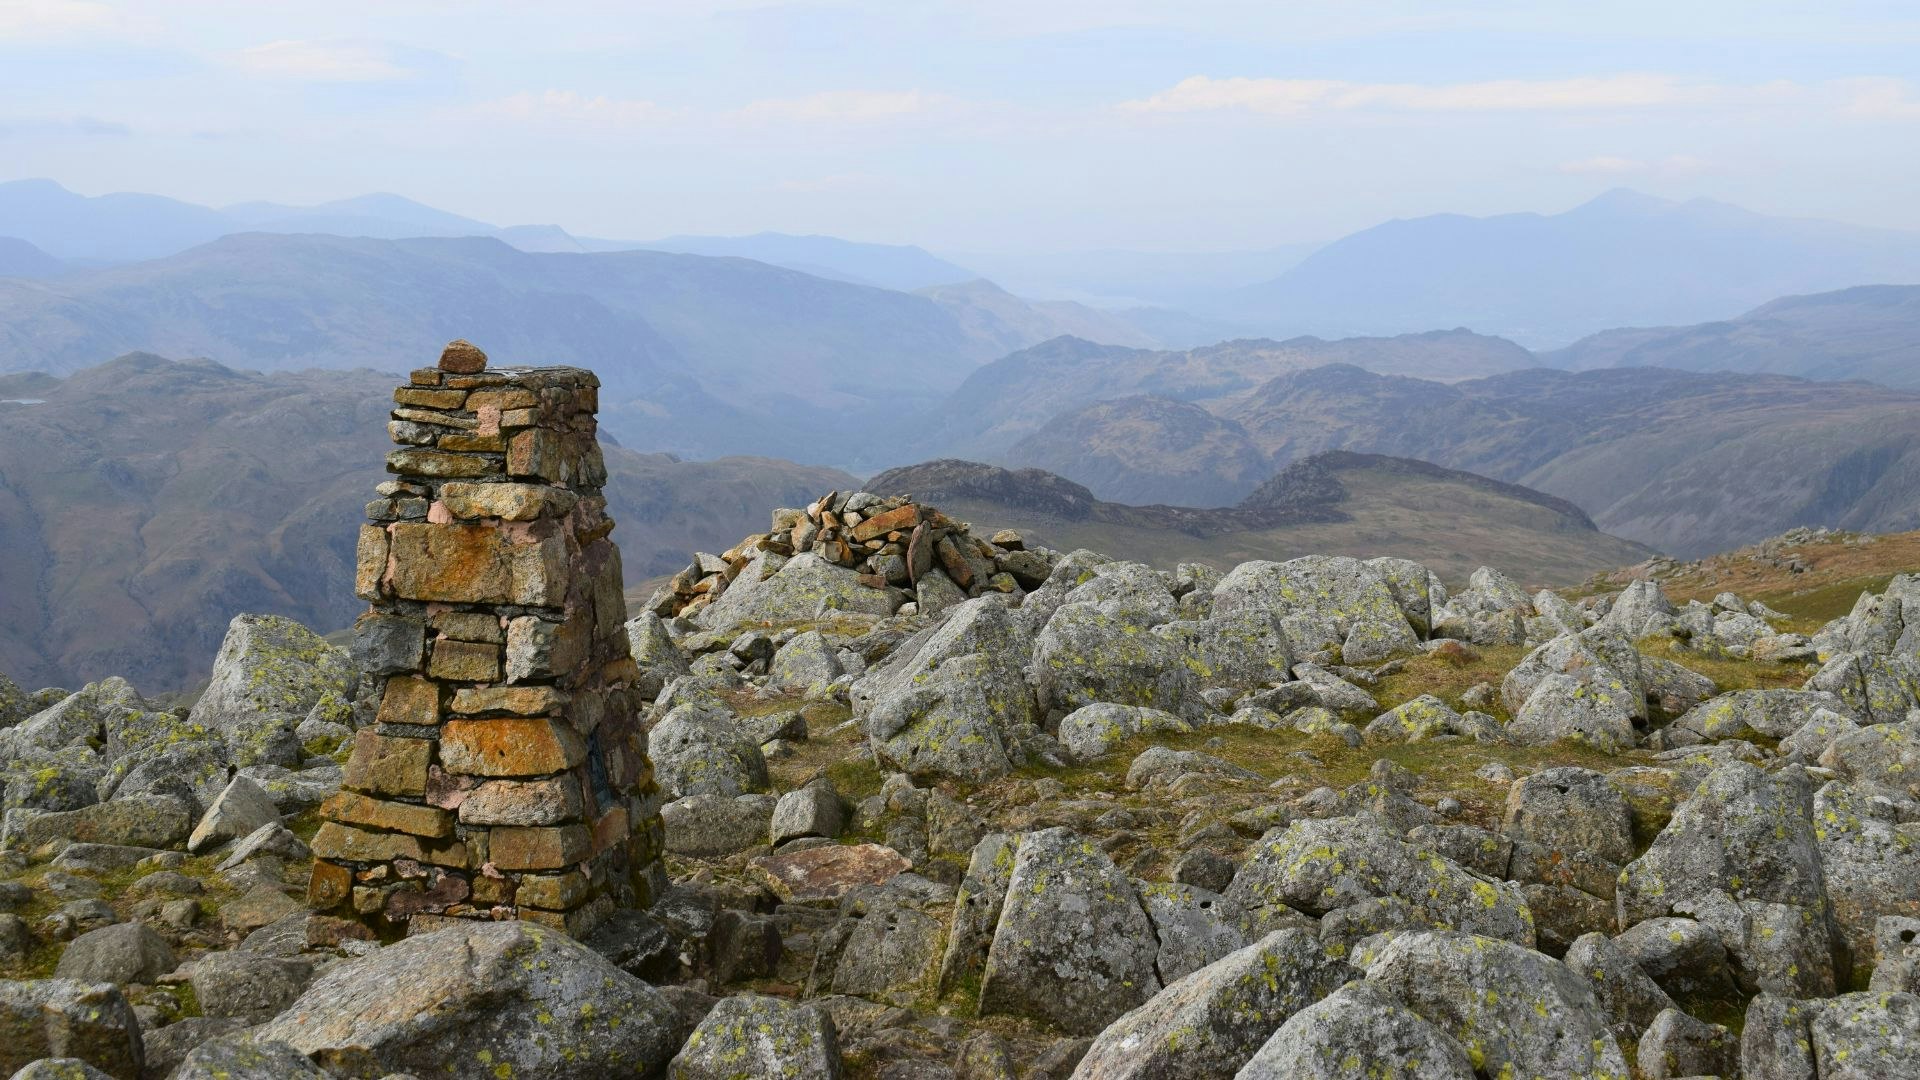
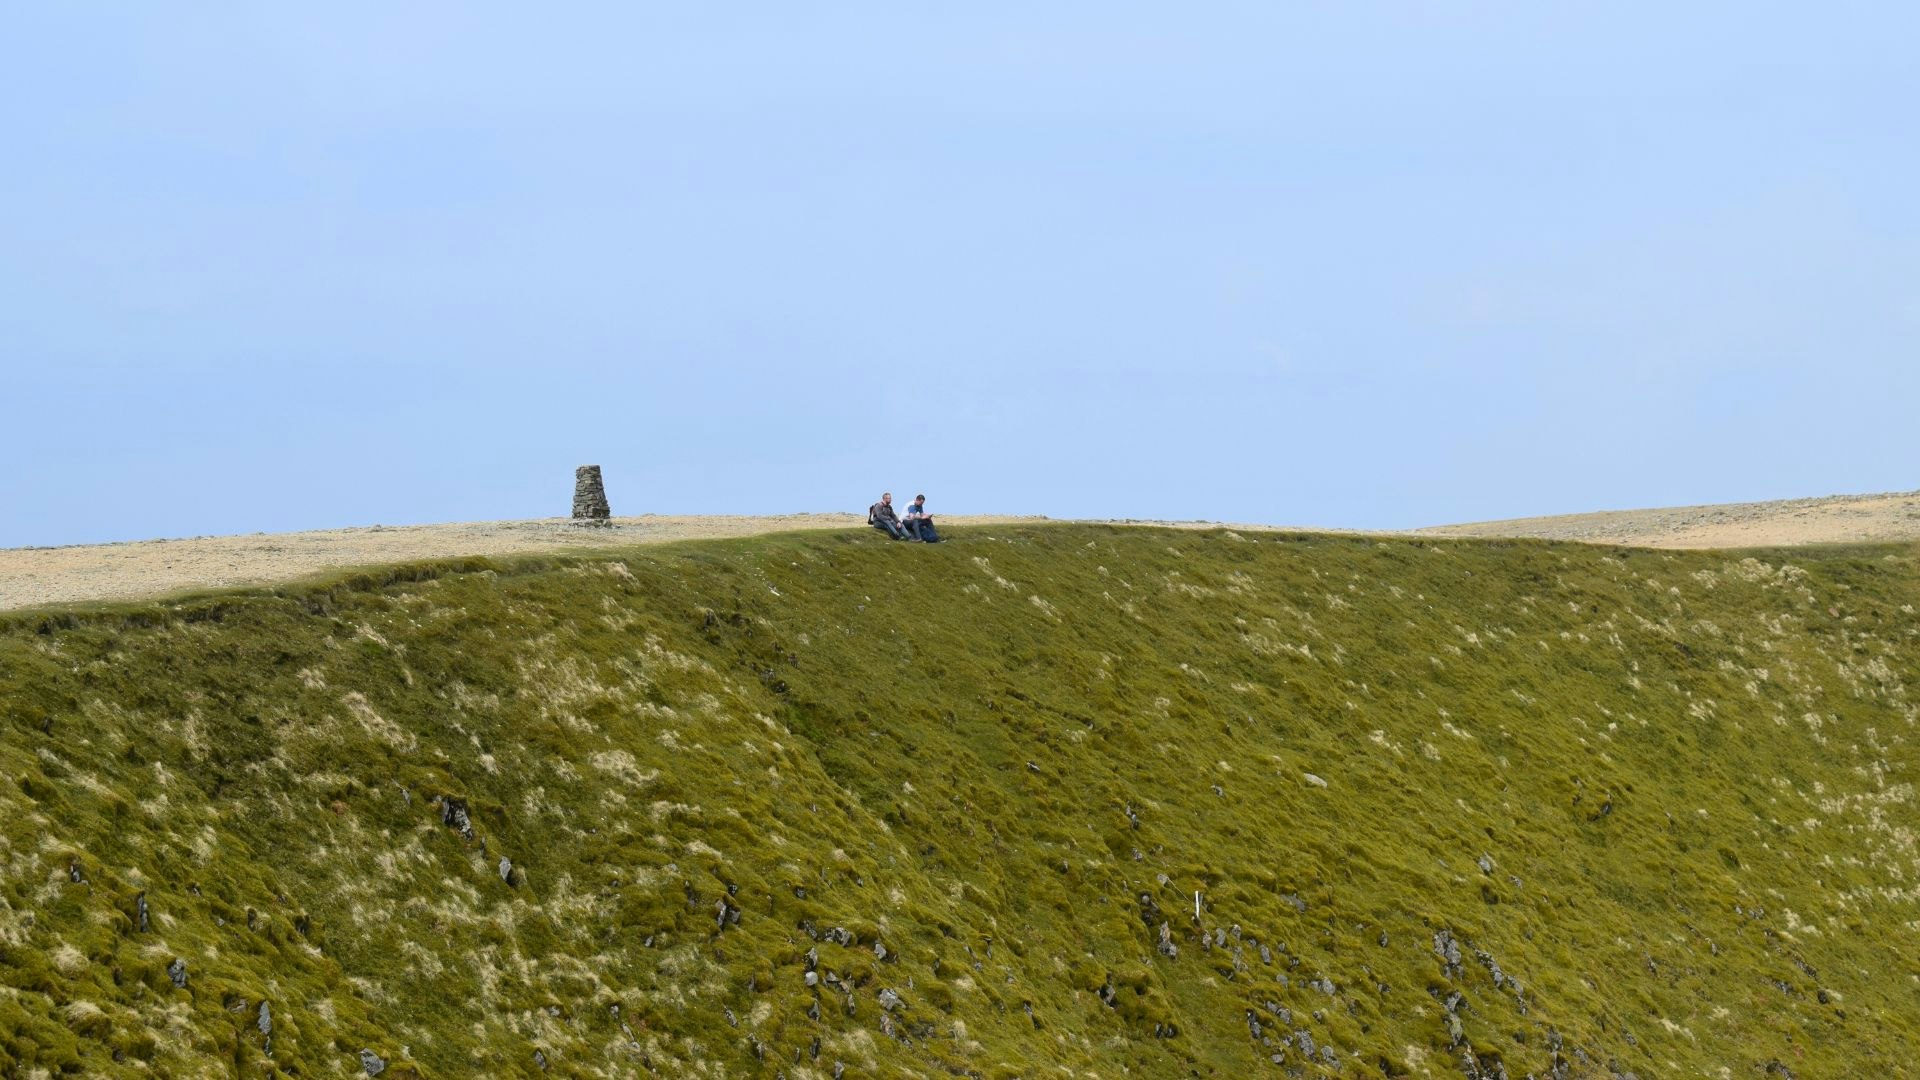
Turn right and head north-east and north, passing a shepherd’s memorial and going through a series of gates, to pick up the main Skiddaw ascent path – a steep, windy, wide path of grey stone – aiming north-north-west up Jenkin Hill. The path veers north-west to reach the base of Skiddaw Little Man. Ignore the path on the left to Little Man and instead go through the gate and take the wide path north-west, skirting the col between Little Man and Skiddaw. Go through the gate and climb north-west, up a very stony, wide track, guided by cairns. Go over some subsidiary tops and continue north to the trig pillar of Skiddaw.
Step 4: Carl Side and White Stones
Retrace your steps south briefly before veering right at the large cairn, taking the steep path over loose, slate-y ground south-west to Carlside Tarn. Ascend south briefly to Carl Side’s summit and then pick up the main path descending due south to White Stones, a silvery-white outcrop.
Follow the path as it finds a way through white boulders and descend south, crossing a half-derelict wall and aiming for Doups. Descend a series of zigzagging switchbacks, cross the fence and go south over grassy slopes, veering right through the gate and down a little alley next to the wall to arrive at the cattle grid next to the big house at Benny Crag.

Step 5: Back to Keswick
Turn right to arrive at the road. Turn left and walk south-east along the road from Millbeck to Applethwaite. Pass the church building and fork left on the higher road. Follow the road south-east and south through Ormathwaite down to grid ref NY267249.
Turn left through the gate on a 4×4 track and head south-south- east through fields (via one stile and one gate) to join the Cumbria Way path on Latrigg. Turn right, go through the gate and take Spooneygreen Lane south-west over the A66 bridge and beyond to Brundholme Road.
Turn left and arrive at the mini roundabout. Turn right, pass to the left of Keswick Leisure Pool, head south-west down Station Road, cross River Greta and arrive into Keswick.